


Hey there! As a dress interlining supplier, I've seen firsthand the importance of ensuring the smoothness of dress interlining after sewing. It's not just about making the dress look good; it's about enhancing its overall quality and durability. In this blog, I'll share some tips and tricks that I've picked up over the years to help you achieve that perfect, smooth finish.
Understanding Dress Interlining
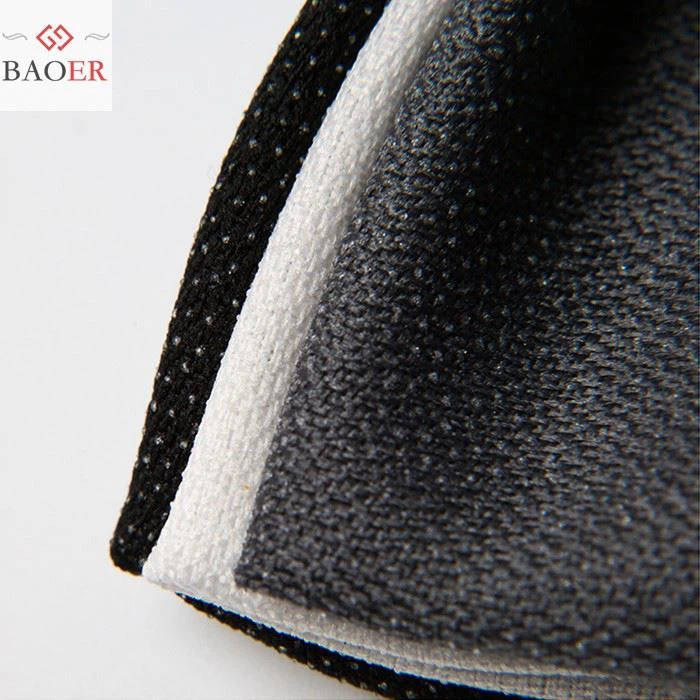
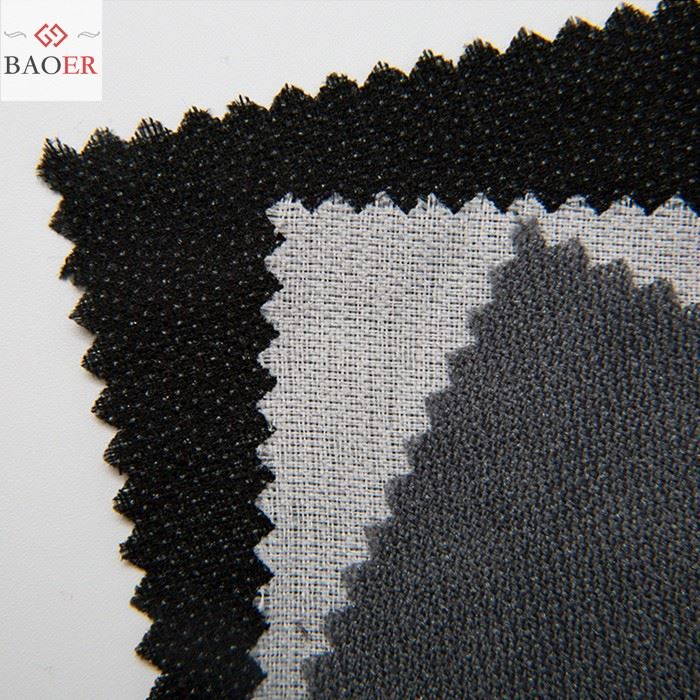
Before we dive into the tips, let's quickly go over what dress interlining is. Dress interlining is a layer of fabric that's placed between the outer fabric and the lining of a dress. It provides structure, support, and stability to the dress, making it easier to sew and wear. There are different types of dress interlining, such as Thinsulate Interlining Fabric, Wedding Dress Lining Fabric, and Waist Band Interlining Fabric, each with its own unique properties and uses.
Choosing the Right Interlining
The first step in ensuring the smoothness of dress interlining after sewing is choosing the right interlining for your project. You need to consider factors such as the type of fabric you're using, the style of the dress, and the level of support you need. For example, if you're working with a lightweight fabric, you might want to choose a lightweight interlining to avoid adding too much bulk. On the other hand, if you're making a structured dress, you'll need a heavier interlining to provide the necessary support.

Another important factor to consider is the compatibility of the interlining with the outer fabric. You want to make sure that the interlining and the outer fabric have similar shrinkage rates and stretch properties. This will prevent the interlining from puckering or wrinkling after sewing.
Preparing the Interlining
Once you've chosen the right interlining, it's important to prepare it properly before sewing. This includes washing and drying the interlining to remove any sizing or chemicals that might affect its performance. You should also press the interlining to remove any wrinkles and make it easier to work with.
When pressing the interlining, make sure to use a low heat setting and a pressing cloth to prevent the interlining from melting or sticking to the iron. You can also use a steam iron to help relax the fibers and make the interlining more pliable.
Cutting the Interlining
Cutting the interlining accurately is crucial for ensuring a smooth finish. You want to make sure that the interlining is cut to the same size and shape as the outer fabric, with a little extra allowance for seam allowances. You can use a pattern or a template to trace the shape of the outer fabric onto the interlining and then cut it out using sharp scissors or a rotary cutter.
When cutting the interlining, make sure to cut along the grainline to ensure that the interlining has the same stretch and drape as the outer fabric. You can also use a chalk or a fabric marker to mark the grainline on the interlining to make it easier to align with the outer fabric.
Attaching the Interlining
There are several ways to attach the interlining to the outer fabric, including fusing, sewing, and gluing. The method you choose will depend on the type of interlining and the outer fabric, as well as your personal preference.
Fusing
Fusing is a popular method of attaching the interlining to the outer fabric because it's quick and easy. To fuse the interlining, you'll need to use a fusible interlining and a hot iron. First, place the fusible interlining on the wrong side of the outer fabric, with the fusible side facing the fabric. Then, cover the interlining with a pressing cloth and apply heat and pressure with the iron for a few seconds. Make sure to follow the manufacturer's instructions for the correct temperature and pressing time.
Sewing
Sewing is another common method of attaching the interlining to the outer fabric. To sew the interlining, you'll need to use a sewing machine and a thread that matches the color of the outer fabric. First, place the interlining on the wrong side of the outer fabric and pin them together. Then, sew along the edges of the interlining using a straight stitch or a zigzag stitch. Make sure to sew close to the edge of the interlining to prevent it from shifting or wrinkling.
Gluing
Gluing is a less common method of attaching the interlining to the outer fabric, but it can be useful for certain types of interlining and fabrics. To glue the interlining, you'll need to use a fabric glue and a brush or a roller. First, apply a thin layer of glue to the wrong side of the outer fabric. Then, place the interlining on top of the glue and press it down firmly. Make sure to smooth out any wrinkles or bubbles in the interlining.
Sewing Techniques
Once the interlining is attached to the outer fabric, it's time to start sewing the dress. There are several sewing techniques that you can use to ensure the smoothness of the interlining after sewing.
Using the Right Needle and Thread
Using the right needle and thread is crucial for sewing the interlining and the outer fabric together smoothly. You want to make sure that the needle is the right size and type for the fabric and the interlining. For example, if you're working with a lightweight fabric, you might want to use a fine needle to avoid leaving holes in the fabric. On the other hand, if you're working with a heavyweight fabric, you'll need a thicker needle to penetrate the fabric and the interlining.
You also want to make sure that the thread is the right weight and color for the fabric and the interlining. You can use a thread that matches the color of the outer fabric to make the stitches less noticeable.
Sewing Slowly and Carefully
Sewing slowly and carefully is important for ensuring the smoothness of the interlining after sewing. You want to make sure that the stitches are even and consistent, and that the fabric and the interlining are not pulling or bunching up. You can use a slow speed on your sewing machine and take your time to sew each seam.

Pressing the Seams
Pressing the seams is an important step in ensuring the smoothness of the interlining after sewing. You want to make sure that the seams are flat and smooth, and that the interlining is not wrinkled or puckered. You can use a pressing cloth and a steam iron to press the seams open or to one side, depending on the style of the dress.
Finishing Touches
Once the dress is sewn, there are a few finishing touches that you can add to ensure the smoothness of the interlining after sewing.
Trimming the Seam Allowances
Trimming the seam allowances is an important step in reducing bulk and ensuring the smoothness of the dress. You want to make sure that the seam allowances are trimmed evenly and that there are no loose threads or frayed edges. You can use sharp scissors or a rotary cutter to trim the seam allowances.
Serging or Zigzagging the Edges
Serging or zigzagging the edges of the fabric and the interlining is another important step in preventing fraying and ensuring the durability of the dress. You can use a serger or a zigzag stitch on your sewing machine to finish the edges of the fabric and the interlining.
Adding a Lining
Adding a lining to the dress is a great way to enhance its overall quality and durability, as well as to ensure the smoothness of the interlining after sewing. You can use a lightweight lining fabric that matches the color and style of the dress. Make sure to sew the lining to the dress carefully, using the same sewing techniques that you used for the interlining and the outer fabric.
Conclusion
Ensuring the smoothness of dress interlining after sewing is an important part of making a high-quality dress. By choosing the right interlining, preparing it properly, cutting it accurately, attaching it securely, using the right sewing techniques, and adding the right finishing touches, you can achieve a perfect, smooth finish that will make your dress look and feel great.
If you're interested in purchasing dress interlining for your next project, please don't hesitate to contact me. I'd be happy to help you choose the right interlining for your needs and to answer any questions you might have.
References
- Phipson, B. (2012). The Complete Book of Sewing Techniques. Sterling Publishing.
- Singer. (n.d.). Sewing Tips and Tricks. Retrieved from https://www.singerco.com/sewing-tips-tricks
- Threads Magazine. (n.d.). Sewing Resources. Retrieved from https://www.threadsmagazine.com/resources
